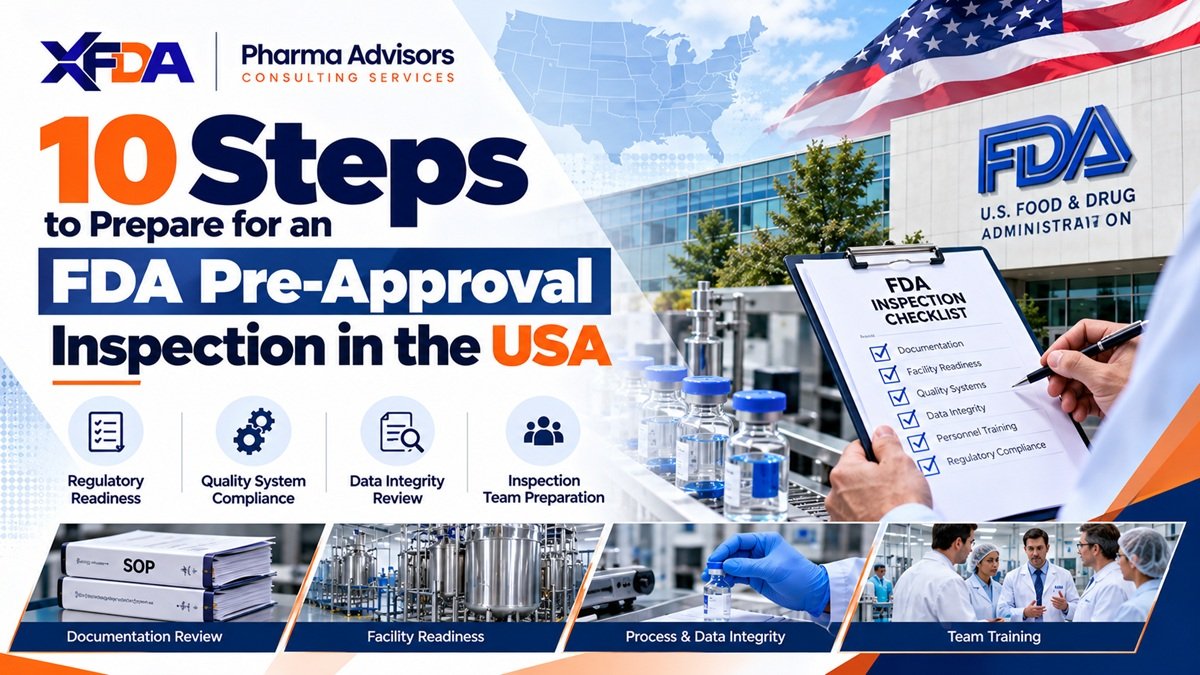
One missing signature can hold up a drug launch in the U.S. market for months. And sometimes, teams do not spot the problem until U.S. Food and Drug Administration (FDA) investigators arrive. An FDA pre-approval inspection (PAI) checks whether your site can make the drug as described in your application. Investigators look at records, visit production areas, and review lab practices. They want to see that your processes work in practice, not just on paper. Even small gaps can raise questions and slow down approval.
FDA inspection practices have also changed. In June 2026, the agency revised its inspection program to put more focus on risk. This means your site’s history matters. A site with a strong compliance record may face a more focused review. A new facility or a site with past findings may need to answer more questions. This applies to U.S. sites and to overseas sites that supply the U.S. market.
So, how do you get ready?
This guide covers 10 practical steps for FDA pre-approval inspection preparation for pharmaceutical companies in the USA. You will learn what to review, which records to keep ready, and how to prepare your team for investigator questions. There is also a quick checklist, a summary table, and answers to common questions to help you plan your next steps.
What Investigators Check During an FDA Pre-Approval Inspection
Knowing the scope of the visit helps you aim your effort at the right places. FDA’s program is built around four main objectives, shown below.
| Objective | What it means for your site |
|---|---|
| Commercial readiness | Your site can make the product at scale, batch after batch. |
| Conformance to application | Daily practice matches what you filed with the FDA. |
| Data integrity | Raw records match the data you submitted. |
| Quality in development | Quality thinking was part of product development. |
The data integrity audit and the conformance check are performed for each individual inspection. Other areas, such as facility controls, depend on risk factors like new buildings or equipment. A significant data integrity issue still tops the list of reasons for not approving an application.
It is a big deal for every sponsor seeking U.S. approval. Failing a pre-approval inspection can delay a product’s arrival on the U.S. market by months or even years. Preparing early for an FDA pre-approval inspection also protects your review timeline and your launch financial plan. Every month of delay costs sales and delays patient access to the medicine.
The 10 Steps That Keep Your Application on Track
These steps move from early planning to final proof, so follow them in order.
Step 1: Read the Current FDA Compliance Program
Before you start preparing, read the FDA document that guides investigators during these inspections: Compliance Program 7346.832. Ensure that your team is using the latest version, not a stale one from a shared drive. Also keep the U.S. current good manufacturing practice (cGMP) regulations close at hand, mainly 21 CFR Parts 210 and 211 for finished pharmaceuticals. Meet with your quality team and circle the areas that are relevant to your site. This gives everyone a clear idea of what to expect and where to focus their efforts.
Step 2: Map Your Facility Risk Profile
No two FDA inspections are exactly alike. The agency considers factors such as your inspection history, product risks, complaints, recalls, and process complexity when deciding what to review. Take an honest look at your own site before the inspection begins. Have you installed new equipment? Changed a process? Received findings, such as a Form FDA 483 observation, during an earlier inspection? These details can help you spot areas that may need extra attention.
Step 3: Create a Clear Inspection Management Plan
An inspection can get hectic quickly without somebody knowing who is accountable for issuing a request. A simple written plan helps keep things on track. It should provide details about who will meet investigators, where they will be working, and how staff will be sharing records with them. Also, set clear rules for questions that need input from another team. Having all the necessary documents readily available can save time and keep things clear. If your site is outside the USA, name your U.S. agent and a contact who can respond to FDA quickly across time zones.
Step 4: Choose and Train Your Inspection Team
Your team plays a big part in how smoothly the inspection runs. Choose the key people well before the visit, and make sure everyone understands their role in FDA pre-approval inspection preparation. Your core team should include:
- Lead host: Guides investigators and helps keep communication clear.
- Scribe: Tracks requests, questions, and follow-up actions.
- Subject experts: Answer questions about production, lab work, quality, and suppliers.
Train staff to give clear, honest answers. They should stick to what was asked rather than guess or offer details they cannot confirm. Run practice sessions, too. A little preparation can make a big difference when the pressure is on.
Step 5: Review Raw Data and Data Integrity
Check your data well before the inspection. Investigators can compare your raw data (lab notebooks, chromatograms, and so on) with the results presented in your application. Check for missing entries, re-testing that has no explanation, and changes made for no apparent reason. If you use electronic systems, confirm that they meet U.S. requirements for electronic records and signatures (21 CFR Part 11) and that audit trails are enabled and reviewed. Ensure that staff can trace results back to the source. If you find a gap, investigate it and document the action taken. Data integrity issues can raise serious concerns about the reliability of your results.
Step 6: Make Sure Your Application Matches Daily Operations
Your FDA application (for example, an NDA or ANDA submitted under U.S. law) describes how you plan to make and test the product. During the inspection, investigators check whether your actual work matches that description. Compare your batch records, test methods, equipment, and manufacturing sites with the details in your filing. Look for changes that were not properly assessed or documented. Pay close attention to where the product is made and tested. If a site or process does not match the application, find out why and address the gap before the inspection.
Step 7: Review Your Process Validation Evidence
Process validation helps show that your manufacturing process can produce a product that meets its quality standards. Before the inspection, gather the studies and data that support your process design. Check that the evidence is complete, clear, and backed by sound science, in line with FDA’s process validation expectations for the U.S. market. You should also have a realistic plan for any validation work still to come. If you state that a study is complete, be ready to explain the results and show the supporting records. Do not claim more than your data can support.
Step 8: Check Suppliers, Contract Labs, and Partner Sites
Quality depends on more than what happens inside your facility. Your suppliers and partner labs are part of your responsibilities, too. This includes contract manufacturers and testing labs, whether they are in the USA or abroad, if they appear in your U.S. application. Review the process for approving raw material suppliers, contract labs, and other external partners. Ensure their audit reports, quality agreements, and test records are current and accessible. When an investigator asks about a supplier, your team should be able to demonstrate how you assess quality and monitor problems with them.
Step 9: Conduct a Mock Inspection
A mock inspection gives your team an opportunity to identify issues before FDA does. If possible, have an independent expert with U.S. FDA inspection experience review your records, interview staff, and walk through your facility. Use the exercise to assess how quickly your team can locate documents and answer questions. Use the FDA guidance and your site’s risk areas to create your mock inspection checklist. Record each finding, assign an owner, and set a deadline for corrective action. After that, perform a test to confirm the fixes are successful.
Step 10: Prepare for Remote Requests and Short-Notice Inspections
FDA may now use records requests or live video sessions before any visit. The revised program sometimes answers the inspection question directly using these tools. For original NDAs, the FDA aims to give at least 60 days of notice. It can still inspect at any time, so be prepared daily. If your site is not ready, you must explain this in writing.
FDA Pre-Approval Inspection Checklist You Can Use This Week
Use this checklist to see how ready your site is for an FDA pre-approval inspection. Work through each item with your quality team and flag anything that still needs attention.
- Review the latest FDA compliance program and U.S. cGMP rules, and list your site’s key risk areas.
- Approve the inspection plan, assign team roles, and confirm backup contacts (including your U.S. agent, if applicable).
- Check that raw data supports every result in your FDA application.
- Confirm that batch records, test methods, and manufacturing details match the filing.
- Organize process validation data and set clear timelines for pending work.
- Update supplier, contract lab, and partner site records.
- Run a mock inspection, document the findings, and close each gap.
Don’t wait for the FDA to contact you. Review these items now, assign owners to any open tasks, and track progress until each one is complete. A little work each week can make inspection preparation far less stressful.
Conclusion
An effective FDA pre-approval inspection begins before the inspectors arrive. This requires diligence, transparency, and a team experienced in handling investigator questions. The ten steps listed above all help your site spot gaps early and avoid last-minute stress. But preparing for an inspection while managing daily operations can be hard. An external audit can uncover problems that your staff may not be aware of.
XFDA Pharma Advisors provides inspection readiness and cGMP compliance consulting for pharmaceutical companies in the USA. The team can help you build a checklist suited to your facility, identify compliance gaps, and plan corrective actions before the inspection.
Contact XFDA Pharma Advisors to discuss your inspection readiness needs and prepare your team before the FDA arrives.
FAQs
What triggers an FDA pre-approval inspection?
FDA weighs product, process, and facility risk after an application arrives. Doubts about data accuracy or past compliance can trigger a visit.
How much notice does the FDA give before an inspection?
For original NDAs, FDA aims to notify the facility at least 60 days ahead. It can still inspect at any time.
What happens if a site fails the inspection?
FDA may recommend withholding approval until the problems are fixed. Serious data integrity issues are a leading reason.
Can FDA skip an on-site inspection?
Yes. FDA may rely on trusted regulator reports, records requests, or remote evaluations when risk allows.